There are different paths to the same end, and this topic is a good example of that. I am going to start with my current favorite method for tweaking the softness of part of an image (using the Gimp, but of course any modern picture editor will have this capability).
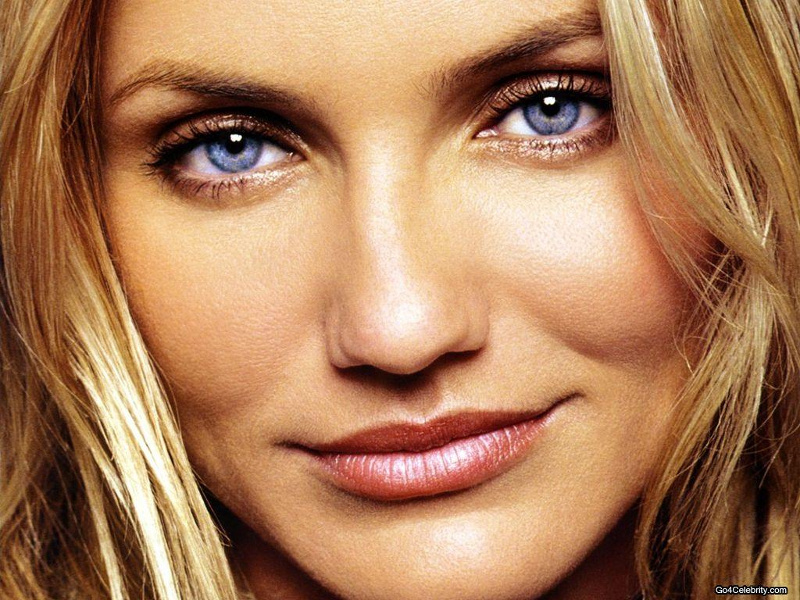
Cameron Diaz' face and eyes need no help from anyone (least of all me). But I am going to use a photo of her anyway, in this example (for no other reason except that it gives me a technical excuse to stare into those eyes for a while.)
I don't like to fine details in her skin texture in the original photo. So I want to soften her skin (blur it) without loosing detail in her eyes and lips.
Here is the original photo (scaled to 800px wide) . .
Add a duplicate layer on top (set the layer mode to normal). Select the top (duplicate layer) and blur it [Filters > Blur > Gaussian Blur ]. In this example, I set the blur radius between 2 and 5 pixels. The layer opacity I set at 100 for the moment. Here is the result . . .

The blur radius and the layer opacity are your options. At times, I have set blur radius at 25 and opacity at 15% . . . depends on where you are going with the image. Experiment!
I think the blurred image above went too far, so in a minute, I'm going to dial back the opacity (increase the top layer's transparency), but first I am going to un-blur her eyes and lips. Do this by first adding a transparent channel to the top (blurred) layer [Layer > Transparency > Add Alpha Channel ]. (Be sure that you have selected the top layer before doing this ! ! ) With this transparency channel, anything that you erase from the top layer, will see through to the layer below it.
Now select the top layer; select the eraser tool, and erase whatever you desire from the top (blurred) layer. I erased her eyes and lips, which now show through to the bottom, sharper layer.
Then lower the opacity (increase the transparency) of the top layer until you like the skin texture. I settled on a top layer opacity of 75. Here is the final result . . . (if you hold the mouse over this picture, the original, unsoftened image will appear, then mouseout to see the softened image)

Now do [Image > Flatten Image ] and save the file. If you want to save all the layers, do NOT flatten the image and you must save it as a Gimp (*.xcf) image. Otherwise, flatten it and choose *.jpg.
Of course, using this layer procedure, you can do anything you want to the top layer, and then erase whatever areas you want to show through to the unchanged bottom layer.
It is good to get lots of experience at this and get passed the "gory" phase of overcooked effects, then settle down into a reasonable, balanced practice of how you do this kind of stuff.
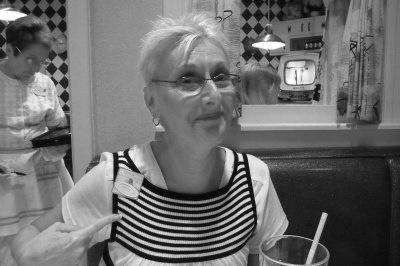
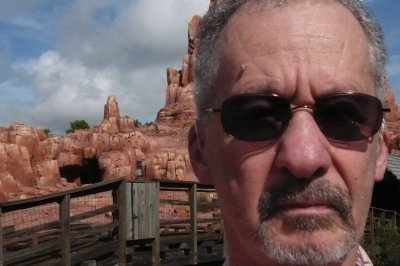
Here are two more mouseover examples. In these two Disneyworld snapshots, I felt that the backgrounds were too distracting, so I blurred and darkened them, to highlight the subjects in the foreground.
page written by Dave Leo