Fig 1
Duplicate the layer twice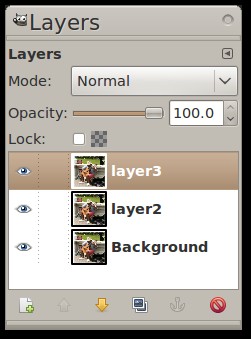
Fig 2
Desaturate the new top layer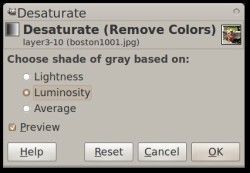
Fig 3
Invert the top layer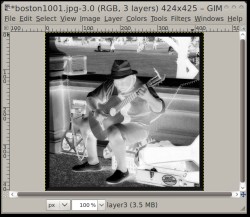
Fig 4
Blur the top layer.
The smaller the radius, the stronger the effect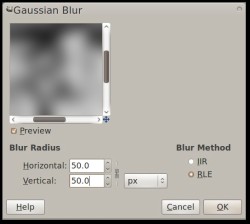
Fig 5
Set the blurred layer opacity to 75% .
Experiment !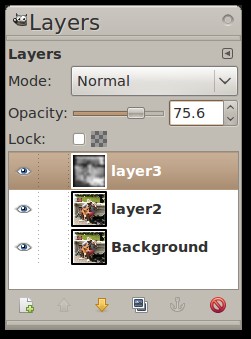
Fig 6
Merge down the blurred layer for a tone map adjustment layer 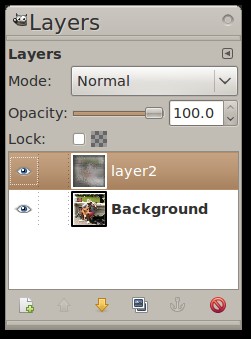
Fig 7
Set the new layer to "Soft Light" and adjust the opacity until you get the result you like. 90% is a good starting point (Fig 7). For a wilder effect, set the layer mode to "Divide", "Subtract" or "
Grain Extract" !
Fig 8
Merge the two layers